
I believe you have started your blog and looking for some way to get traction. Google Analytics is the best tool you will need as a blogger to analyze your progress. In this tutorial, I will explain how to install Google Analytics for measuring the stats of your website.

It is easy to install, even if you are not a techy person. There are plugins for everything, and you can do so by using a plugin named Insert Headers and Footers. There are many other ways, but this is what I found to be the simplest and easiest way to do so.
Blogging for beginners: steps you need to follow
How to find a blogging niche in 5 simple steps
Why you need Google Analytics on your website
Google Analytics is essential for measuring the metrics of your website. As the saying goes on, what gets measured gets managed.
You can measure these metrics as
- Demographics
- Number of page views you are getting in real-time
- Places from where you get most of your time
- Channels from where you get your traffic
In simple words, you can measure everything happening on your blog.
How do I install Google Analytics?
Google Analytics is free for all to use. Whether you have a small blog or a bigger one, it will equally help you to measure everything on your blog.
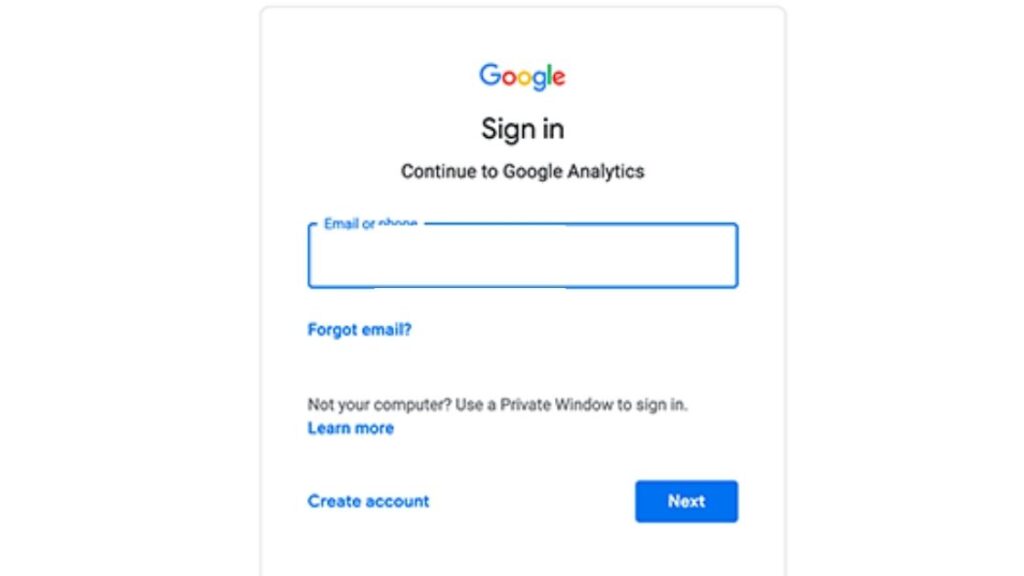
Sign up with Google
The very first step is to create an account with Google. If you already have an account, you can skip this step. When you go to Google Analytics, you will be shown on the sign-up page. Sign in to your Google account. And you will be shown on the Google Analytics page.
After creating your Google account, you will be taken to the Google Analytics page.
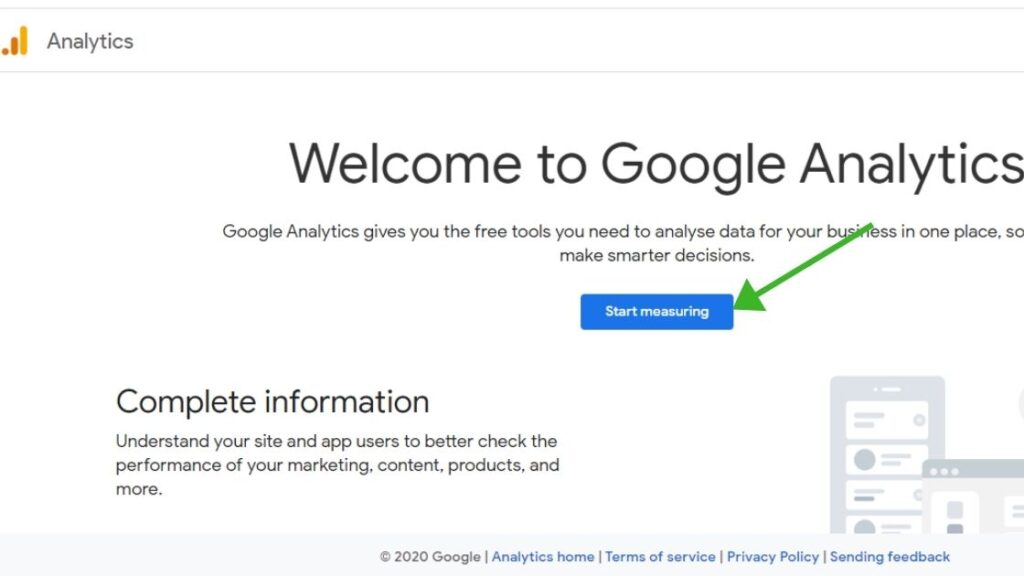
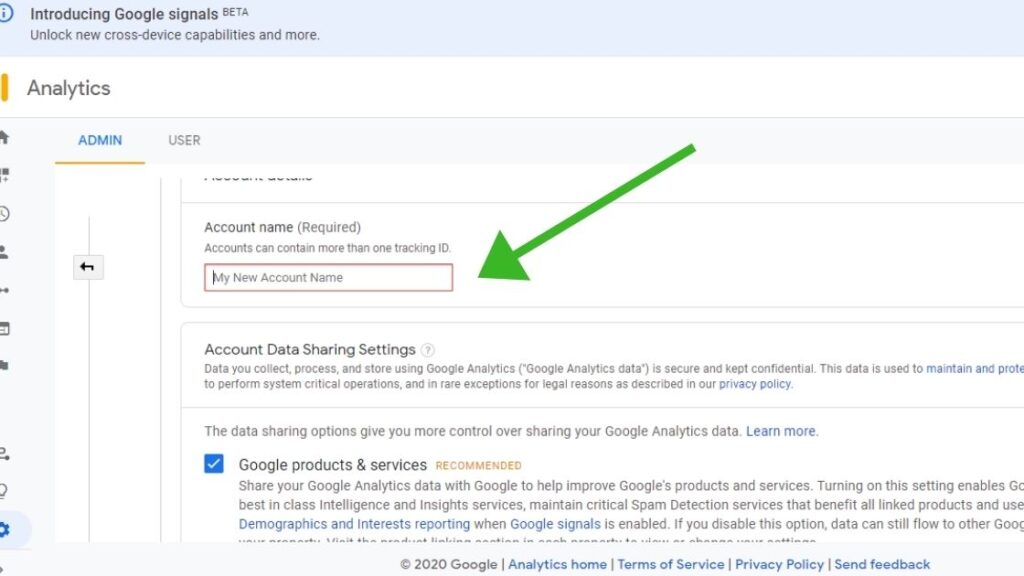
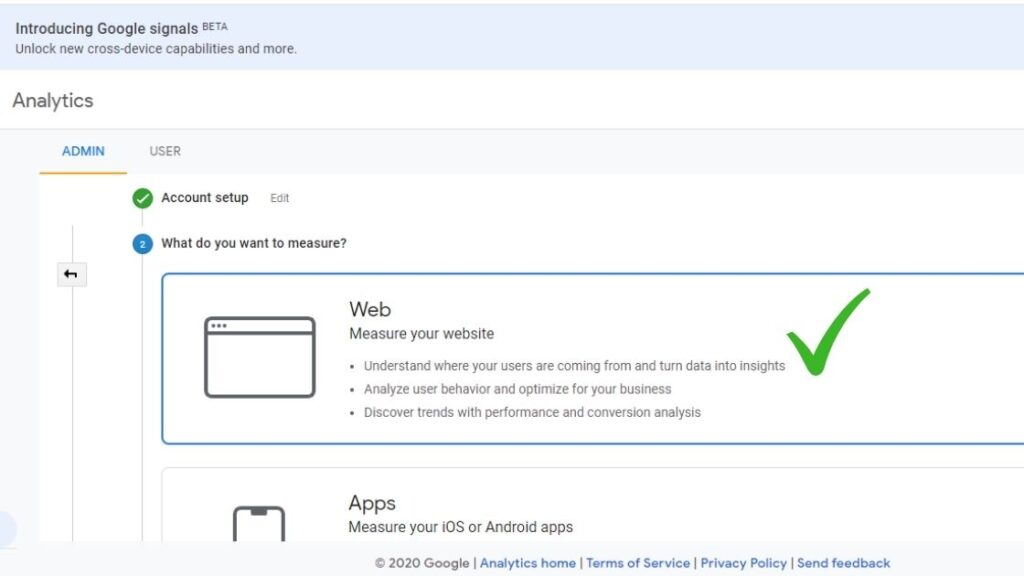
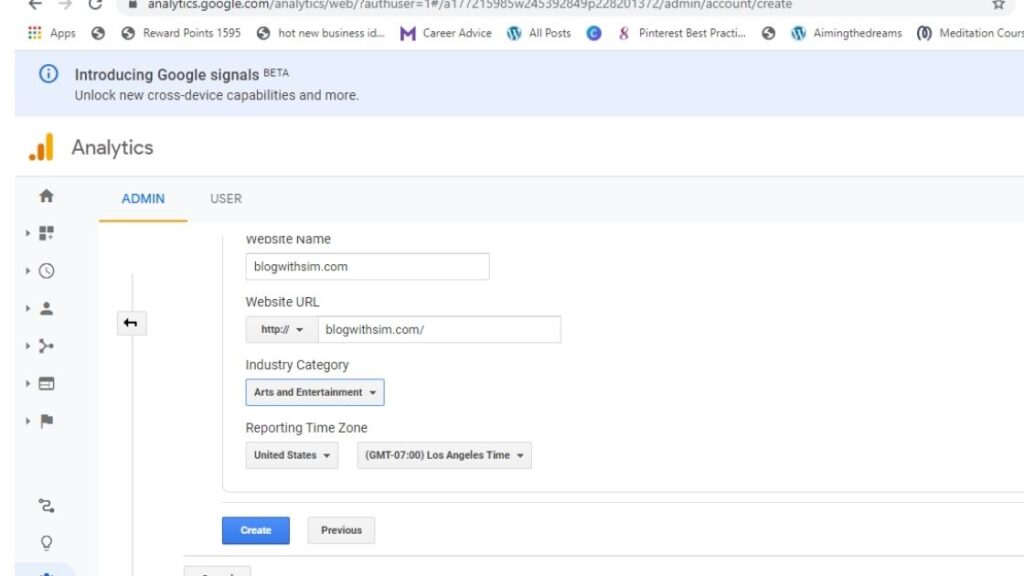
Enter the information and create your account. After entering all the information, click the NEXT button.
You will be presented with the Terms and conditions. Agree to all the terms and conditions by clicking on, I Agree.
In the next step, you will be shown a page with your Google Analytics Tracking CODE. This is a personal code and don’t show it to anybody.
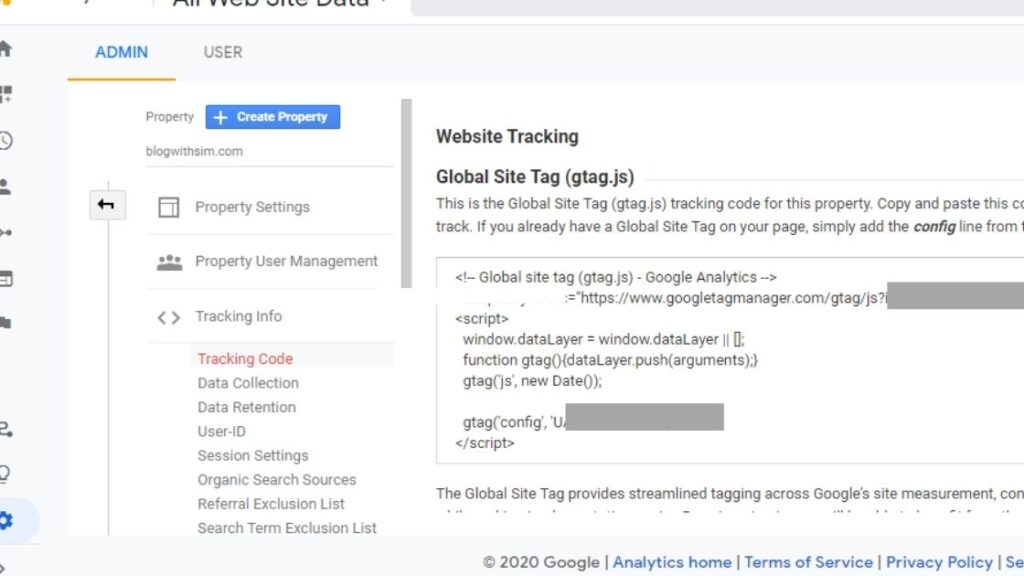
You have to copy this code and insert it into your WordPress site.
You have to copy the Snippet from the Goole Analytics page and paste it on your WordPress site.
How to insert your tracking code to the WordPress site.
If you are not a coder, you can simply add this to your WordPress using a plugin. Two plugins can be used to insert Google tracking code to your website pages.
- Monsterinsights Plugin
- Insert Headers and Footers Plugin
I personally use the Insert Headers and footers plugin. It is considered a lightweight plugin that doesn’t slow down your website. The only problem is that you will not be able to access Google Analytics from your WordPress Dashboard.
With Monsterinsights, it is easy to access the metrics from inside your wordpress dashboard. It shows the Site metrics at a glance on your WordPress dashboard. Even then, I prefer to use the Insert Headers and Footers Plugin.
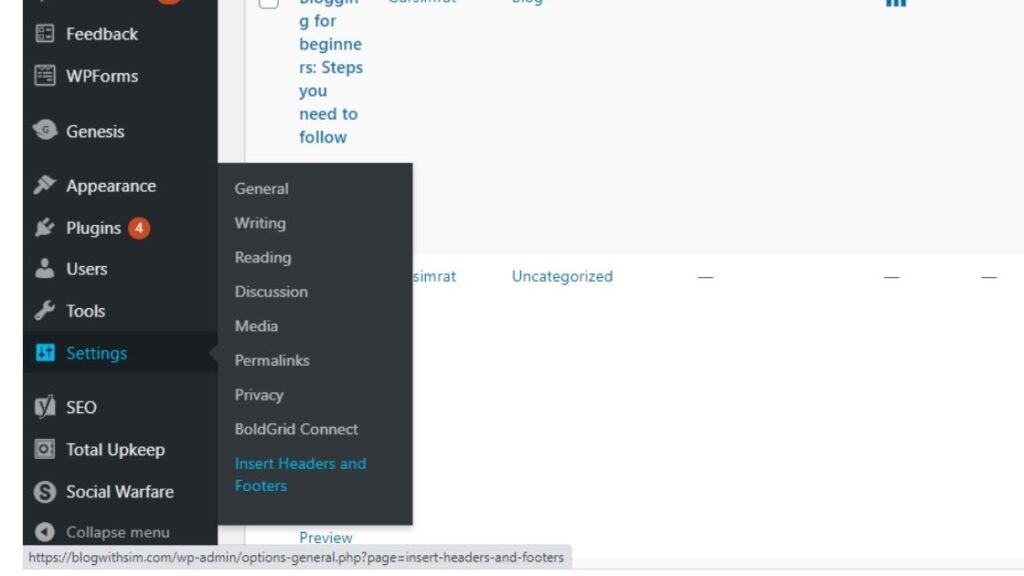
Go to the WordPress Plugin directory and search for Insert headers and footers. Click Install on the plugin. Activate the plugin.
Go to settings and click on Insert headers and footers, and you will be shown the following page.
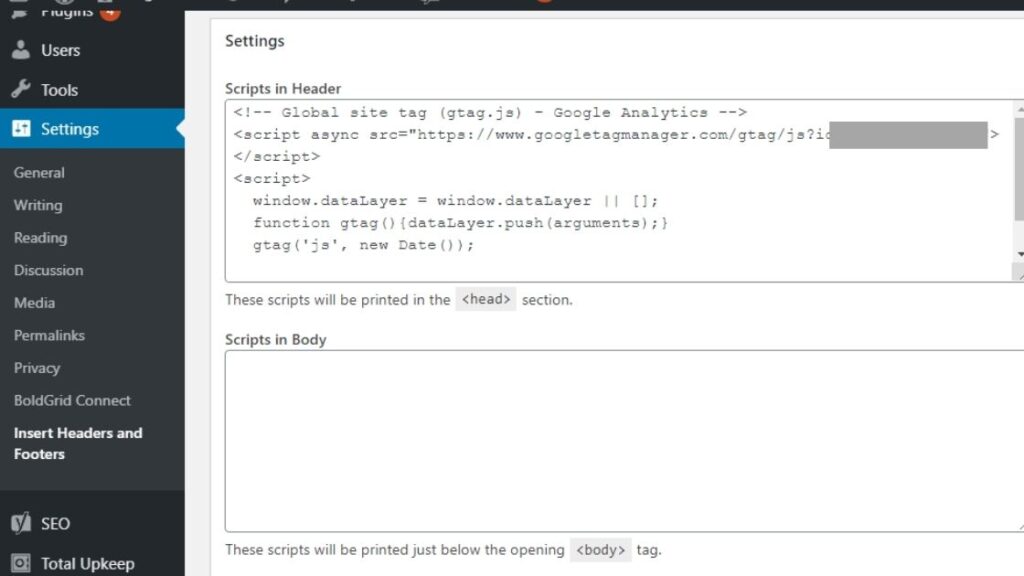
Insert Snippet you copied from the Google Analytics page.
Now, as you have added the Snippet, save the settings. You are ready to measure the metrics of your website to grow further.
If you want to check whether your Google Analytics code is installed correctly or not, you have to check the real-time metrics on your Google Analytics page.
Go to your website and visite a few pages. And then check your Google Analytics home page. You will see the Real-time stats of your visits and pageviews will show up there.